

Drawing with 3rd graders can be tough. Some of them are still at the point where they are willing to try drawing whatever.. but unfortunately some of them reach that tipping point where all of a sudden if they aren't immediately successful, they think they can't do it.
That's why for this lesson I took a more step-by-step approach with them. We all began on the carpet in my classroom. I showed my students a brief PowerPoint explaining what a family portrait is, and then we compared and contrasted two very different family portraits drawn by children (one was an image I found online and the other was an example by one of my 3rd graders).
We talked about how the portrait drawn by the 3rd grader had a background, was fully colored, had the family members overlapping to create space, had thought about body proportions, etc., while the portrait found on the internet did not. My students all agreed that the portrait with all the extra details was definitely a more successful drawing.
I broke up this project into a bunch of steps. My students would watch me draw something and explain to them why I did what I did, then they went back to their seats and did it themselves. Then once they were finished with the step, they came back to the carpet so I would know that they were ready to move on. All in all, this project took most of my students 4-5 45-minute class periods to complete.
Before my students drew anything, I had them repeat the saying "Draw light until you know it's right!" like 5 times. This was especially important for them to remember because we would be erasing a bunch of what we drew.
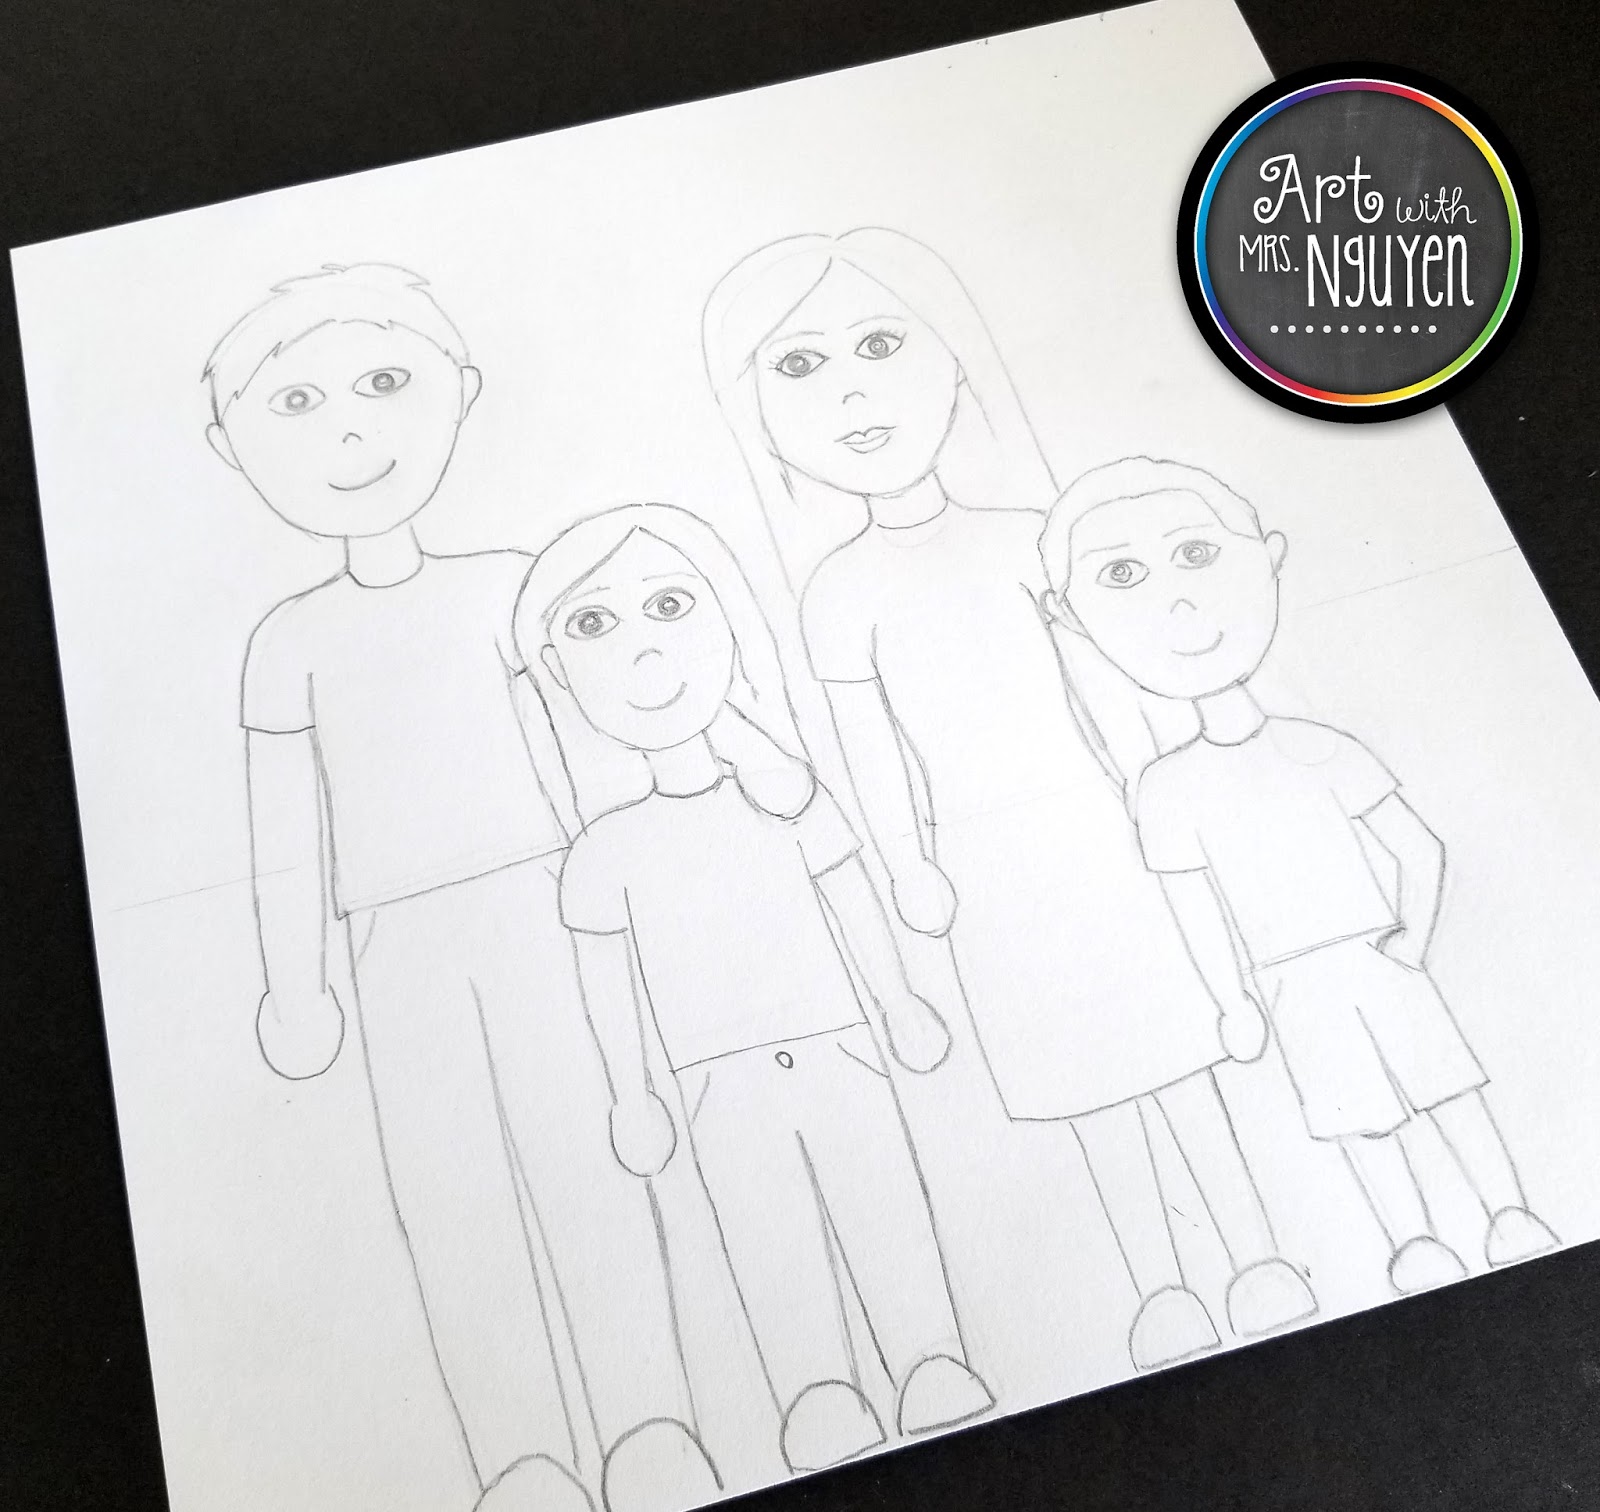
Step 1 - Draw a horizon line and trace your family member's heads.
I explained to students that a horizon line is where the land meets the sky in a picture. So they used a ruler and drew a horizontal line somewhere near the middle of their page. Then I gave them two differently sized head tracers (ovals I cut out of posterboard) so they could add their family member's heads to the page. Adults were drawn with the large sized tracer, while the kids were drawn with the smaller tracer. I'm not normally a fan of using stencils/tracers.. but if they drew their heads too small, they would've kinda been doomed from the beginning. There are bigger battles people - use the tracers.
 *This idea came from the wonderful smART Class art blog.
We also talked about the placement of the heads on the page. Adult heads should be placed higher on the page (above the horizon line), while children's heads should be lower down (but not too low though because they still need space to draw the body)! We also talked about how the heads should be staggered on the page (you don't want a kid's head immediately under an adult's head). If the heads aren't staggered, students end up losing a lot of detail on the person in the back. To help illustrate this point, I arranged a group of students in front of the class so they could see why certain arrangements would be a problem.
 Step 2 - Draw the necks, necklines, and shoulders.

 Step 3 - Draw waistlines.

Students found the halfway point between the shoulders of a person and the bottom of the page, then they drew a horizontal line about as wide as the head.
Step 4 - Draw t-shirts on everyone.
Before beginning this step, I emphasized how important it was to draw the shirts of kids in the front of the picture before the parents in the back. If students started with the people in the back, they would have to end up erasing a lot more because the people in front would cover part of their detail up (overlapping).
Students drew two lines up from the waistline, then curved the shoulder line down to create the sleeve.
 They also went ahead and drew their people's arms and hands in. We talked about how people's arms typically go past their waistline. I told them not to stress about drawing fingers. If they could do it - AWESOME! But if not it was perfectly okay to draw them balled up. Again - there are bigger battles. I swear some of my kids would've spent the entire class period just trying to draw hands if I had let them!
It was also important to let them know what some of the detail on the people in the back would be hidden.. but that they should keep drawing everything that they would be able to see.
 Step 5 - Add bottoms (pants, shorts, dresses, shoes).

Students just extended the line down from the side of shirt to create the sides of the pants. If they wanted to create a dress, they just had to erase the waistline and then extend the line down and draw the bottom of the dress. If they were drawing shorts, we talked about how legs are often smaller than the width of shorts.
We also talked about how people don't normally have their feet sticking out to the sides. Students were encouraged to draw the shoes as if they were projecting out forwards (towards the viewer). Drawing the shoes this way was a big "WOW" moment for a lot of my students! 😊
 Step 6 - Add the face and hair.
I demonstrated how I would draw my own hair and face on my drawing, then sent the kids to complete their drawings.
A couple things we talked about were:
-remembering to add details like eyebrows and ears
-drawing more realistic eyes that appeared about halfway up the person's head
-how the tops of ears usually line up with a person's eyes
-how hair can change the contour of the top of the head
Students had a lot of wiggle room here. Ultimately they were told to draw the facial features how they wanted to.
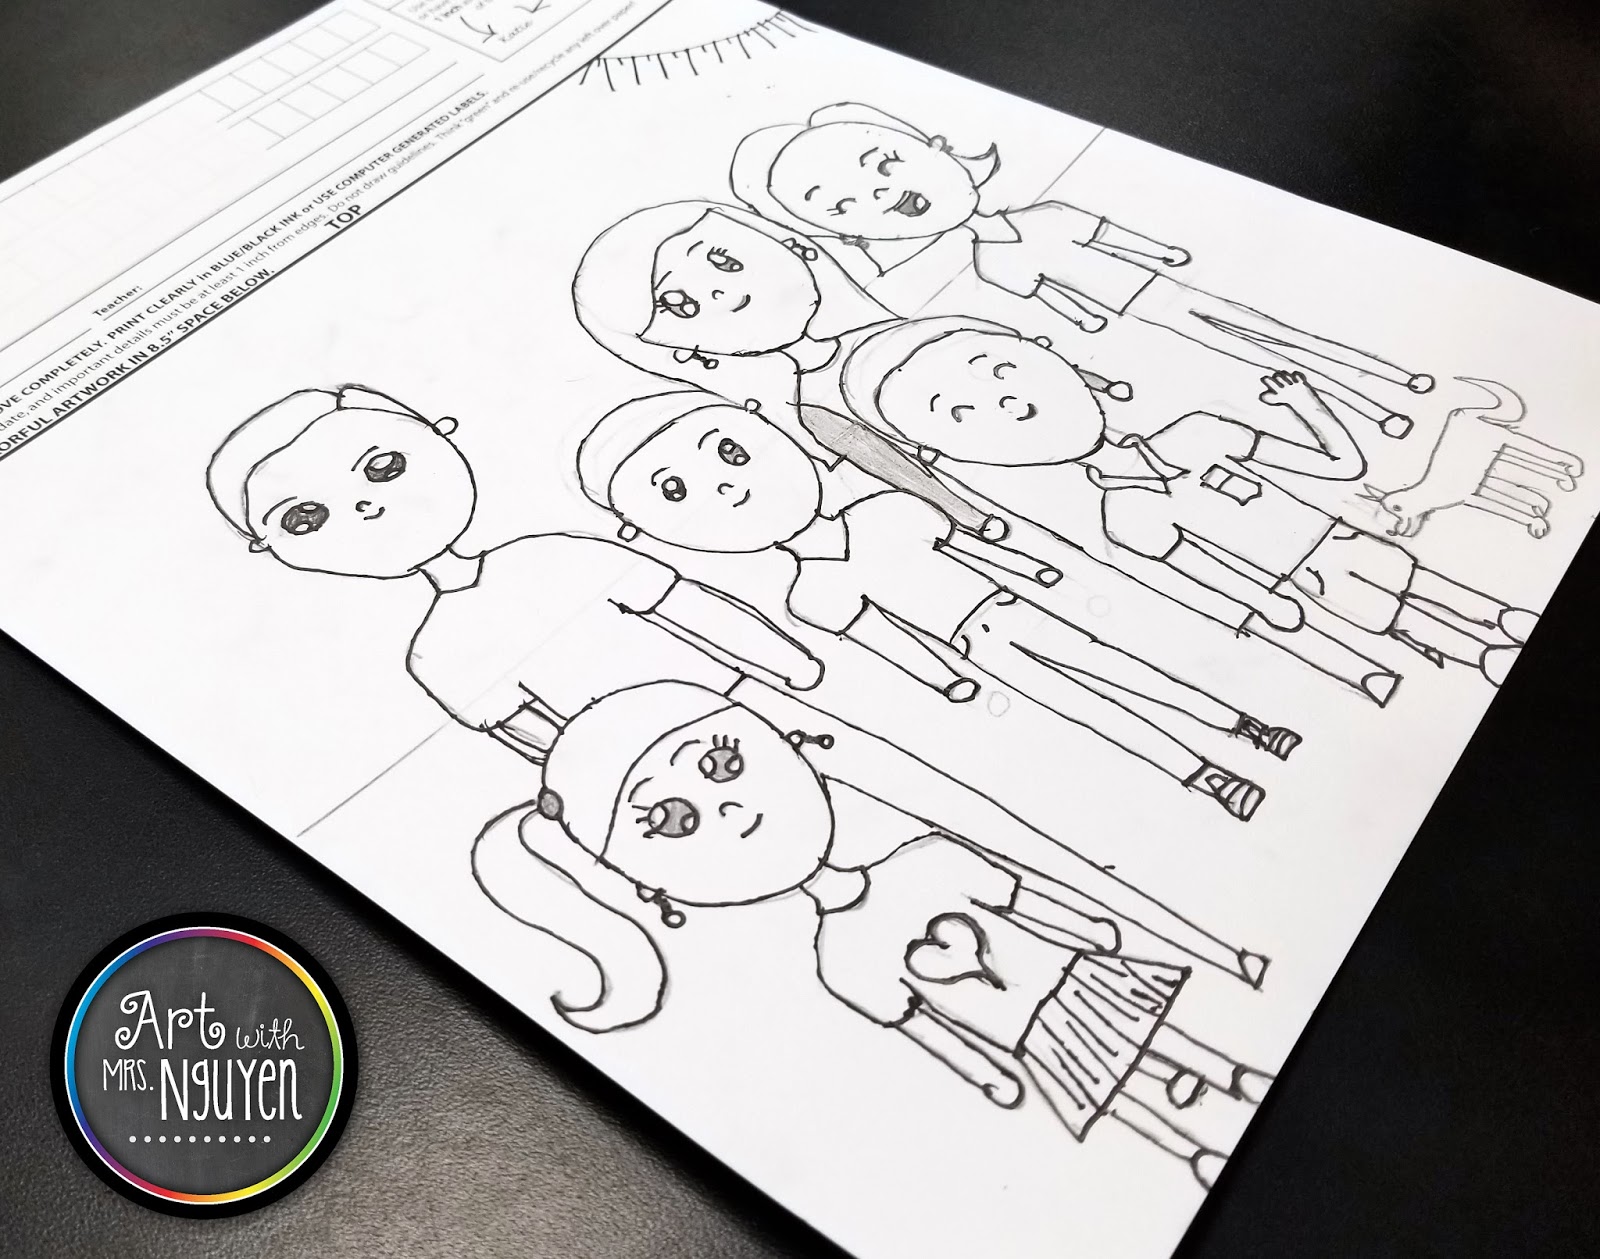
 Step 7 - Outline everything with a sharpie pen.

Students were to trace over EVERYTHING with a sharpie pen. "Mrs. Nguyen.. even the eyes?" "Yes." "What about the hair?" "Yes." "What about the horizon line?" "Yes." 😒
Once they were done tracing, they went over everything with an eraser to clean up their drawing.
This is when a bunch of them realized that they had missed an eye or hand with the sharpie.
 Step 8 - Color in the people with crayon.

This is where I really changed up my project from previous years. In the past I had my kids paint their pictures or use marker.. but this year I went with crayon and watercolor paint in the background. Why? Because the crayon and watercolor paint resist each other, so if the crayon is pressed down hard enough.. it makes it really difficult to accidentally paint over a person's face/body.
All of my tables were given tester papers so that kids could try out a color before they chose to use it.
I also encouraged my students to color all the skin areas first - that way they wouldn't accidentally mix up colors and end up with different colored patches of skin on the same person.

Step 9 - Paint the background with watercolor paints.
Students were free to paint their backgrounds however they wanted, but most opted for using green and blue.

Were there some issues with proportion? Of course! But this is 3rd grade people! I think they turned out beautifully! **My students were all amazed how well they were able to draw their family portraits. 😁


No comments
Post a Comment